Sunday, September 23, 2012

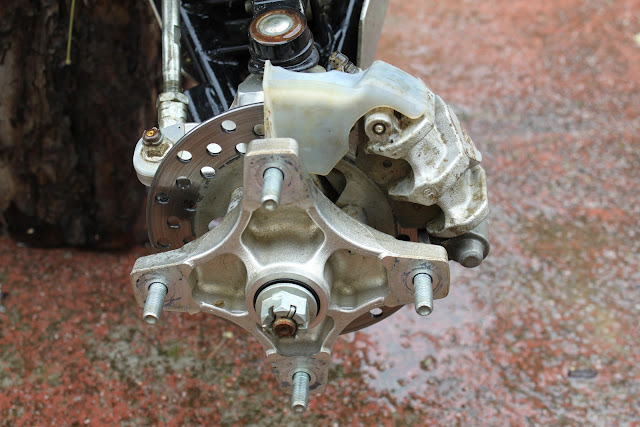
How to replace brake fluid in TRX 700

Difficulty: 2/5
Time: 30 minutes

Tools:
- #10 socket and wrench

  1. Remove both front wheels.
  1. Remove two screws from reservoir cap.
  1. Connect a bleed hose to the front brake caliper bleed valve.
  1. Have #10 wrench ready
  1. Perform bleeding procedure
  • Squeeze the brake lever all the way and and loosen the bleed valve 1/4 of a turn with #10 wrench.
  • Wait several seconds and then close the bleed valve.
  • Release the brake lever slowly and wait several seconds after it reaches the end of its travel.
  • Repeat the steps 1 and 2 until there are no air bubbles and new brake fluid shows up in the bleed hose.
  • Remember to add new brake fluid to  reservoir tank, don't let it to suck air into the system.

 Tighten the bleed valve with 4.0 lbs/ft torque


Use DOT 4 brake fluid


Sunday, August 26, 2012

How to change Honda TRX700 front brake pads


Difficulty: 1/5
Time: 30 minutes

Tools:
- flat head screw driver
- #8 and #10 socket, wrench
- silicone grease


  1. Remove wheel
  2. Remove brake disc cover with wrench/socket #10
  3. Push caliper pistons all the way in to allow installation for new brake pads. Check the brake fluid lever in the brake master cylinder on your steering wheel. This operation causes the level to rise.
  4. Remove pin with socket #8 and pad spring.
  5. Wash everything with brake cleaner.
  6. Install pad spring.
  7. Install new pads to the pad retainer
  8. Apply some silicone grease to the pin o-ring, torque it with 13lbf-ft
  9. Install brake disc cover, torque 9lbf-ft


I used EBC MX-S brake pads, so far so good


As you can see here, I didn't have much left in old brake pads
 old
 new


Tuesday, August 14, 2012

How to replace TRX700 battery

Difficulty 1/5
Time 5 minutes

Tools:
- wrench and #10 socket

  1. Remove seat
  2. Remove air filter cover
  3. Remove battery cover
  4. Remove battery holder bolt


How to clean TRX700 radiator

Photobucket


After ride like this there is mud stuck EVERYWHERE. It's important to keep your radiator clean and it's much easier to wash it when you remove front body panels.


Difficulty: 1/5
Time: 30 minutes

Tools:
- hex key 3/16
- #10 socket

  1. Remove front top cover with hex key, 6 screws
  2. Remove head light cover
  3. Remove radiator cover with #10 socket , 4 screws
  4. Remove front fender, 6 screws
  5. Remove radiator grill